Almost done.
 So now the wood has been coated in 9 layers of CA and sat overnight. Some pen makers move onto this next step as soon as the outer layer of CA dries. I like to wait because the CA will continue to "offgas" for a number of hours after application.
The CA coat now gets wet-sanded with micro-mesh in a 9-step process that goes from 1500 to 12,000 grit. This part's tricky. The CA layer is very thin. If you don't sand enough, you'll still see tiny pits in the CA coat (a technique I expoit to do my "textured" finish, which is still very pretty in its own right). If you sand too much, you'll get down to the wood and have to re-apply the CA coat, wait overnight, etc. After wet-sanding, they're cleaned again with denatured alcohol.


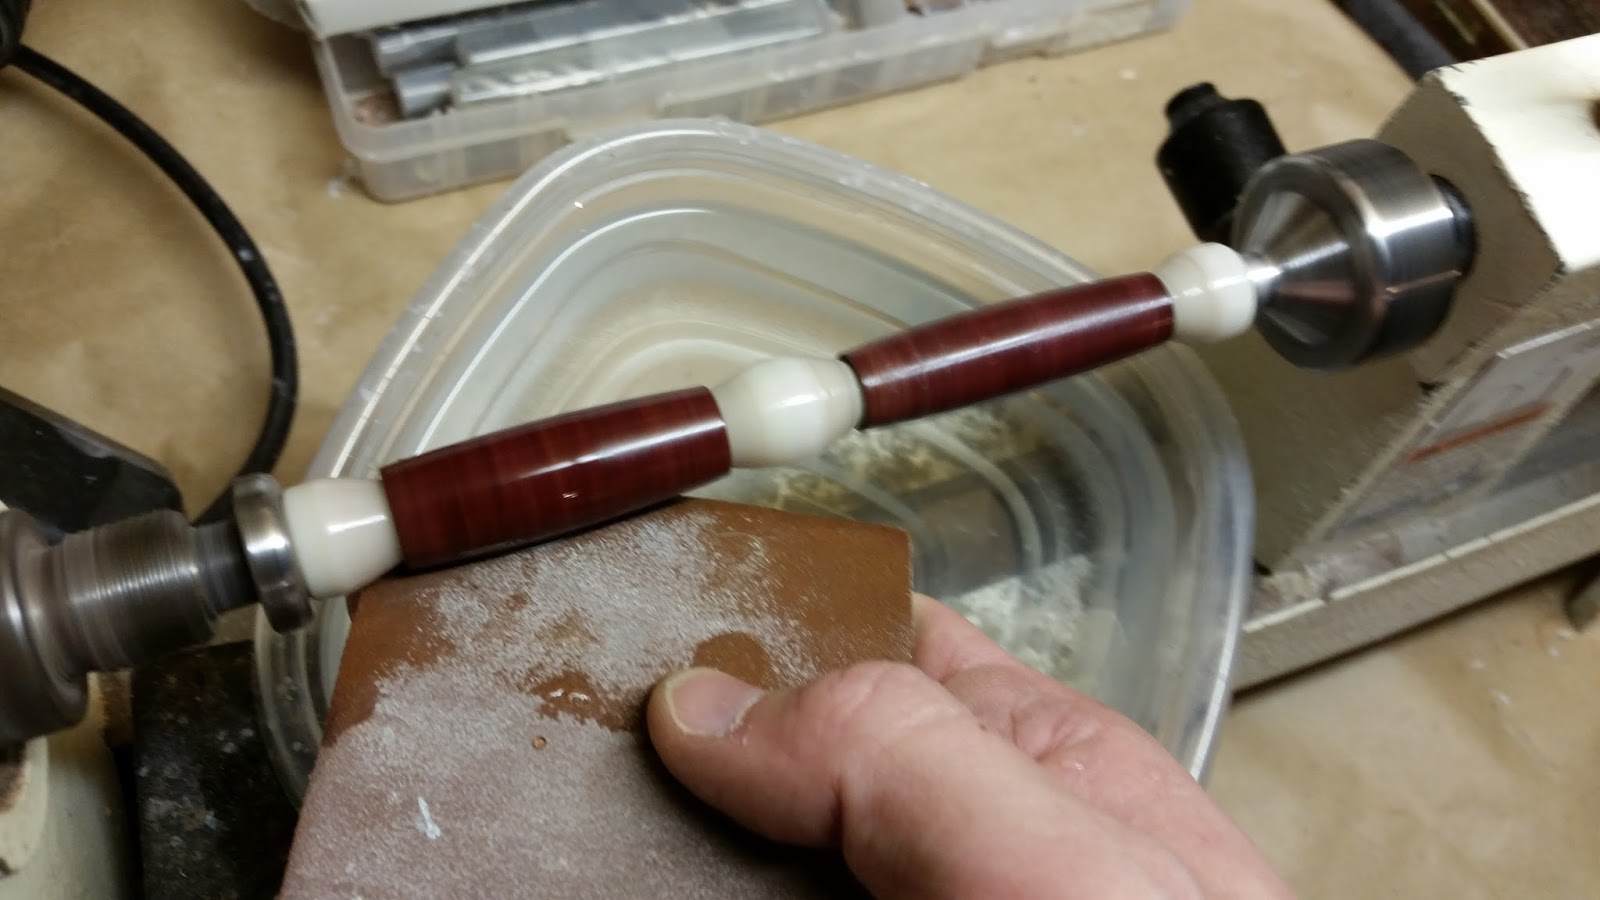
After wet-sanding it's looking pretty good. Time for polish. I use a 4-step process, two coats of plastic polish and two coats of wax. It's very subtle, but you can see the difference in this picture if you look closely. The piece on the right is being buffed after its second coat of polish. It's just a little shinier than the piece beside it, which is just the sanded CA coat.
 Now the pieces come off the lathe and the ends are sanded with 220 grit to remove any excess CA and wax that may have spilled over the edges.
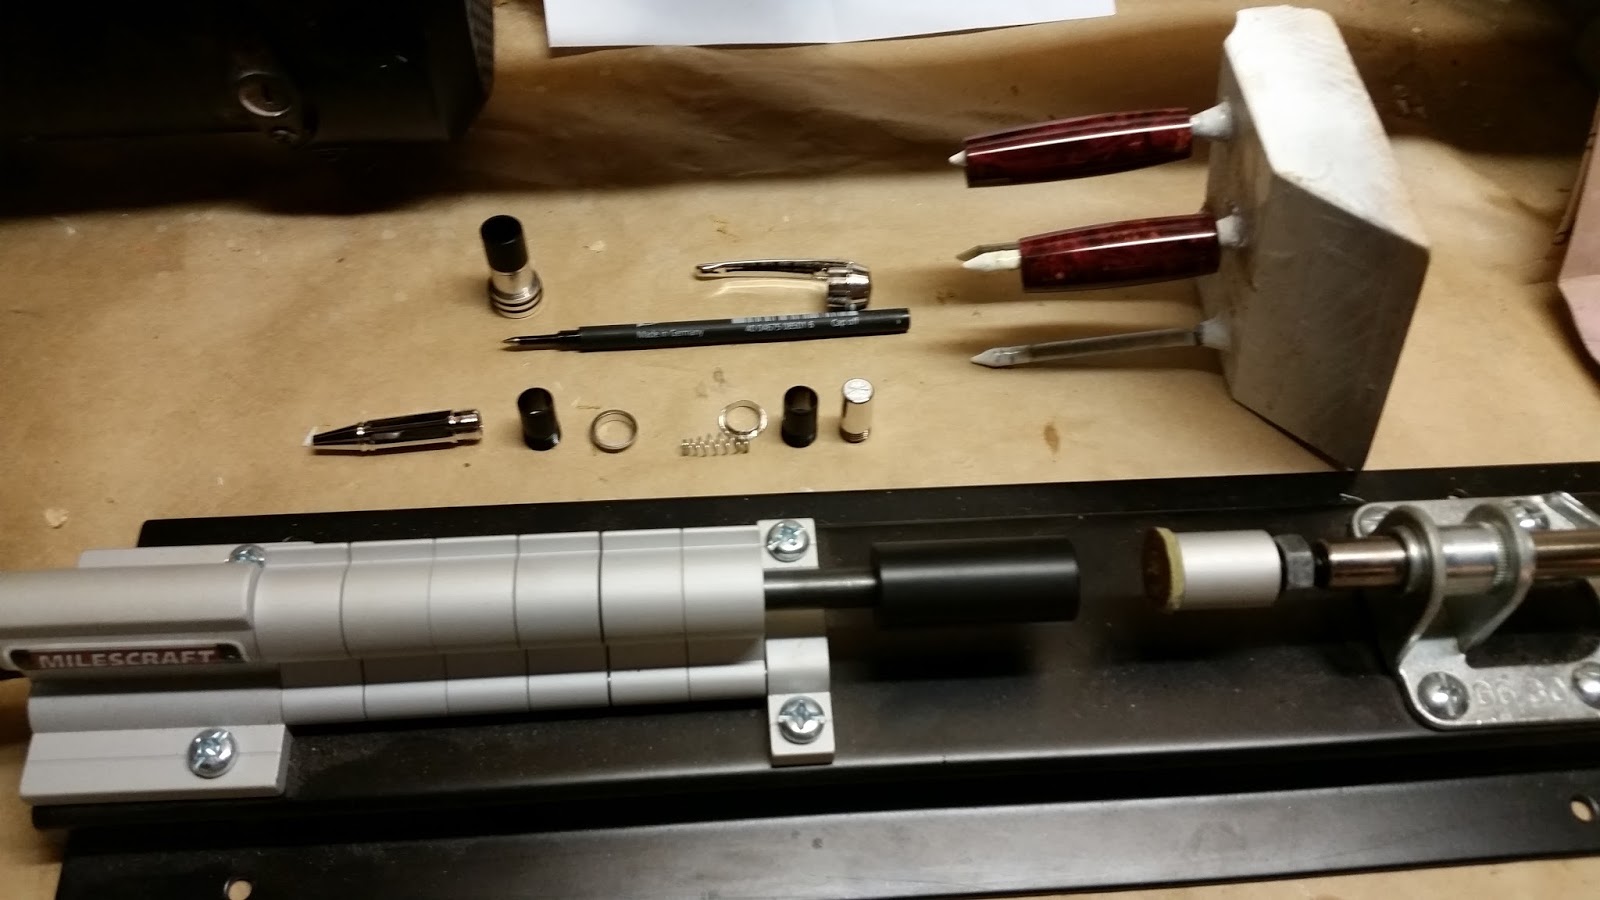 I lay out the parts of the kit and use a pen press to assemble the pen. Remember those marks we put in the brass tubes to ensure the grain lines up again? Here is where they come into play. With other two-piece twist pen kits, you just line up the grain and press them together. This kit, however, features a cap that screws on. In order to line up the grain here, I put the screw-parts together, line up the grain and push the cap wood on by hand, then un-screw them and push the cap pieces in the rest of the way with the press.
No comments:
Post a Comment